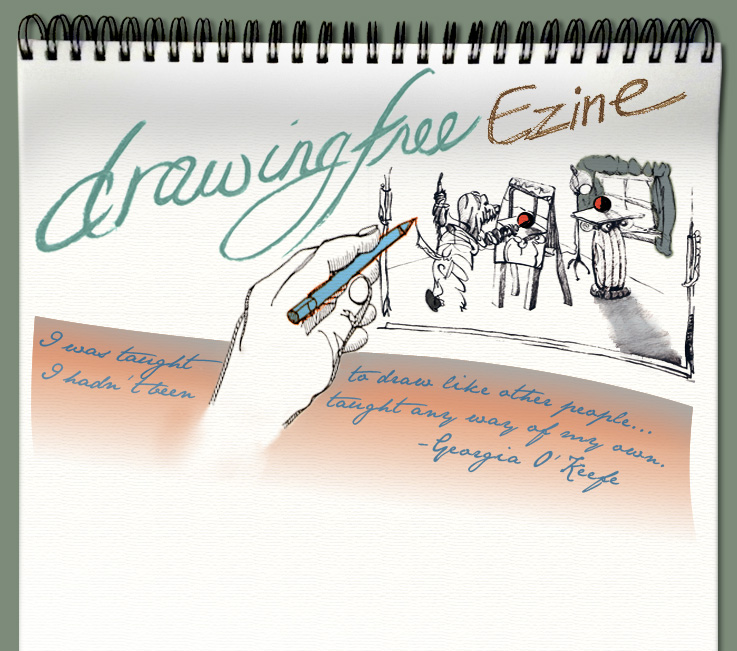
Drawing Your Hand with Pen, Ink, & Wash

This Drawing Free Ezine has two parts. The first is a series of photos showing the materials and an initial drawing in ink that I did by tracing my right hand and drawing with my left hand. Scrolling down you will then find a series of short videos showing the whole process from start to finish. In this second part, I am drawing my left hand with my non-dominant right hand -- much as you might if you are right handed.

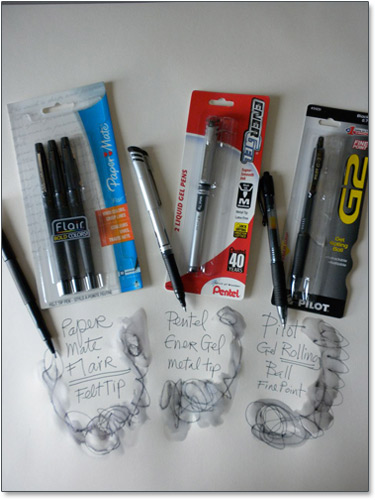
Three Kinds of Pens...

Wash or washing means to brush with a thin coat of diluted ink or paint.
Paper Mate Flair - Felt Tip
Pentel EnerGel - Metal Tip
Pilot Gel Rolling Ball - Fine Point
These three pens each work well for ink and wash drawing. They are great for making lots of drawings and exploring ink and wash. These pens are NOT permanent markers -- the ink from them can be "washed" over with water from a brush, a sponge or dripped on and the ink will run and become (with the water) a WASH. The ink comes up from the paper when it water rehydrates the ink. You can combine this method with additional washes of other ink that you have diluted with water. You can also use watercolor thinned out with lots of water to make a transparent wash that will carry some color.
Experiment first with scribbles and doodles and then brush over those with water. Play and find out what you can do. Each pen makes grays of different colors. You can see the differences! The Flair felt tip pen is more of a red violet. The Pentel metal tip is more of a blue with tones that lean towards yellow, a bit of violet and thus slight greens at times. The Pilot rolling ball goes a bit more to the red AND it makes more dots or clumps of ink that show more when they bleed out -- standing out from the lines. You may choose one over another. They can also all be used together. Flair also makes the felt tip in a variety of colors. See what you can find and play around with them all to see what you like!
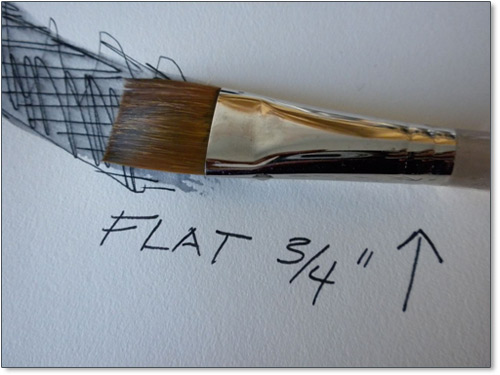
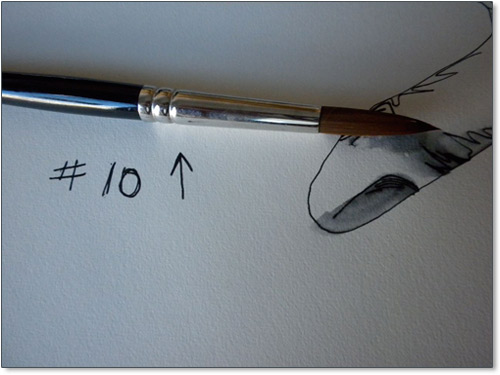
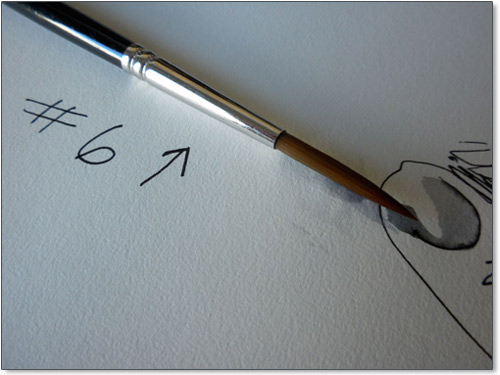
...Meet Three Kinds of Brushes
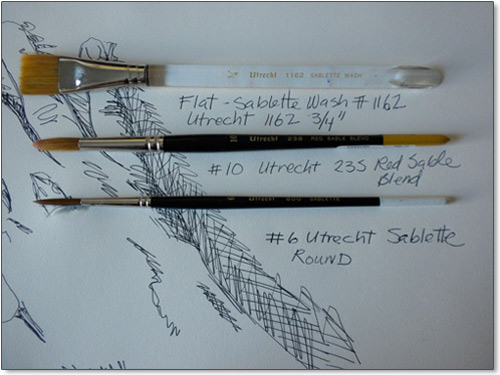

Here you see the three brushes that I used to brush the clear water on to the paper and into the ink. I could have just used any ONE of these brushes. The important part is that the brush be of sufficient quality so that it has SPRING to the brush. Wet or dry -- when you push on the end of the bristles -- the brush should have a slightly stiff springy feel to it. The very cheap brushes just bend or collapse and you can't apply pressure to the paper or the ink. Limp brushes make it next to impossible to move and direct the water. Very frustrating! And you might conclude (possibly AGAIN!) that you are not very good at this. WRONG! You need a brush that you can push and pull. Also, when wet, these brushes will hold their points (the round ones) or their edge (the flat one). Usually the brushes that come with an inexpensive water color set are of little or no use. Get a synthetic, nylon or sablette brush that is not too expensive. It should cost around $10 or less. Get a fairly large one so that it will do more for you and so it will hold more water. The numbers #6 and #10 here refer to their size and are good brush choices.
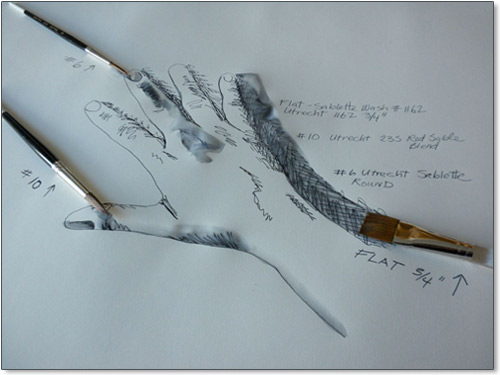
Application of the Brushes and Water to the Paper and Ink

The water will buckle, swell and warp any paper that it touches -- just like a paper towel will swell with water. Here I just happen to be using a Strathmore medium weight Drawing Paper that is 80 lb. paper. It is described as an ideal surface for any DRY media, suitable for pen and ink, illustrations and final drawings. Any paper that is less than 300 lb. paper or heavy "board" backed illustration board WILL buckle with the water. Buckled paper can be pressed back to flat and also mounted by a professional framer. I've used this method with my students for fun, exploration and practice just with computer printer paper. If you get a drawing that you want to frame you could scan it and print in on the printer paper of your choice -- depending on the printer or copy machine.
Ready? Now Let's See It in Action!
UPDATE! Want even more on this topic? Check out this episode of Margaret's TV show, Art Creativity & You, for a further exploration of ink, pen, and wash techniques!
For more information on Margaret Welty go to: www.margaretwelty.com -- but first SIGN-UP HERE FOR THE DRAWINGFREE EZINE.
Copies of each issue for DrawingFree Ezine can be found on the DrawingFree Web-site:
www.drawingfree.com
Copyright 2010 Margaret Welty. All Rights Reserved. Permission is granted to link to this site, information or to quote WITH author notation: "From the Drawing Free Ezine Created by Margaret Welty at www.drawingfree.com".

Presented by Margaret Welty and the Drawing Dog
Each lesson presented in the Drawing Free Ezine gives you ways to massage your own neurological white matter to further form and train your ever transitioning ART BRAIN. Remember that the key is to DRAW, play and be easy with yourself. Eliminate any unrealistic expectations and judgements about your work. Work to be happy while you draw! Draw like a child with no expectations beyond your current beginner's brain, eyes, hands and heart. Orient your focus toward the fascination that consumes a small child upon discovering that she can make her own marks appear. Make your own marks appear!!
Create a chance to draw. Draw every chance you get.
Make a space to draw. Draw in every space you make.